

Last updated: October 2026
This guide contains affiliate links. As an Amazon Associate, FarmingAround earns from qualifying purchases, at no extra cost to you.
To start beekeeping, learn first, then buy: join a local beekeeping club or take a beginner course over winter, check your local rules, set up one or two hives in a sunny, sheltered spot, and order bees early so they arrive in spring. In your first year, the goal is a healthy colony that survives winter, not a big honey harvest.
This guide covers each stage, from hive and gear to installing bees, mite checks and winter prep. In the Southern Hemisphere, just shift the timing by six months.
Key takeaways
- Find a mentor or club first. Hands-on help matters more than any book.
- Start with two hives if you can, so you can compare them and share resources.
- Order bees in winter for spring delivery; suppliers often sell out early.
- Monitor varroa mites and expect little or no honey in year one.
In this guide
- Step 1: Learn Before You Buy
- Step 2: Check Local Rules
- Step 3: Choose a Hive Type
- Step 4: Get Equipment and Protective Gear
- Step 5: Pick the Right Spot
- Step 6: Order and Install Your Bees
- Step 7: Inspect, Feed and Watch for Mites
- Step 8: Harvest and Winter Prep
- Beginner Mistakes to Avoid
- Quick Reference: First-Year Beekeeping
- FAQ
- Sources
Step 1: Learn Before You Buy
Winter is the best time to learn. Most areas have a beekeeping club or association that runs beginner courses and can pair you with a mentor, and many extension services and university bee labs offer short courses, some online. A mentor is the most useful thing you can have: problems are easier to spot when someone experienced looks at a frame with you, and many clubs lend equipment. If bees are part of a bigger plan, see what homesteading is.
Step 2: Check Local Rules
Rules vary by country, state and even town, so check before you buy anything.
- United States: some states require apiaries to be registered (Pennsylvania, for example), and some cities or homeowner associations limit hive numbers or ban hives altogether.
- UK: registering on BeeBase, the National Bee Unit’s database for England, Scotland and Wales, is free and encouraged; inspectors use it to warn you about nearby disease.
- Australia: beekeepers are required to register with their state or territory agriculture department.
- New Zealand: all beekeepers must be registered under the American Foulbrood Pest Management Plan, regardless of how many hives they keep.
- Elsewhere: ask your agriculture department or beekeeping association.
Step 3: Choose a Hive Type
Most beginners choose a Langstroth hive, the standard stacked-box design. Parts are easy to buy and familiar to most mentors, and eight-frame boxes are lighter than ten-frame ones.
| Hive type | Pros | Cons |
|---|---|---|
| Langstroth | Standard, widely sold parts; works with extractors; most mentors use it | Full honey boxes are heavy |
| Top-bar | Waist height, no heavy lifting; simple to build | Fragile comb; no standard extractor; less local help |
| Warré | Small boxes; mimics a tree cavity; low-intervention | New boxes go underneath, so you lift the stack; harder to inspect |
In the UK and Ireland the National hive is common, so ask what your local association uses; matching your mentors’ equipment makes getting help easier.
Step 4: Get Equipment and Protective Gear
Start with the basics; many beginners overbuy.
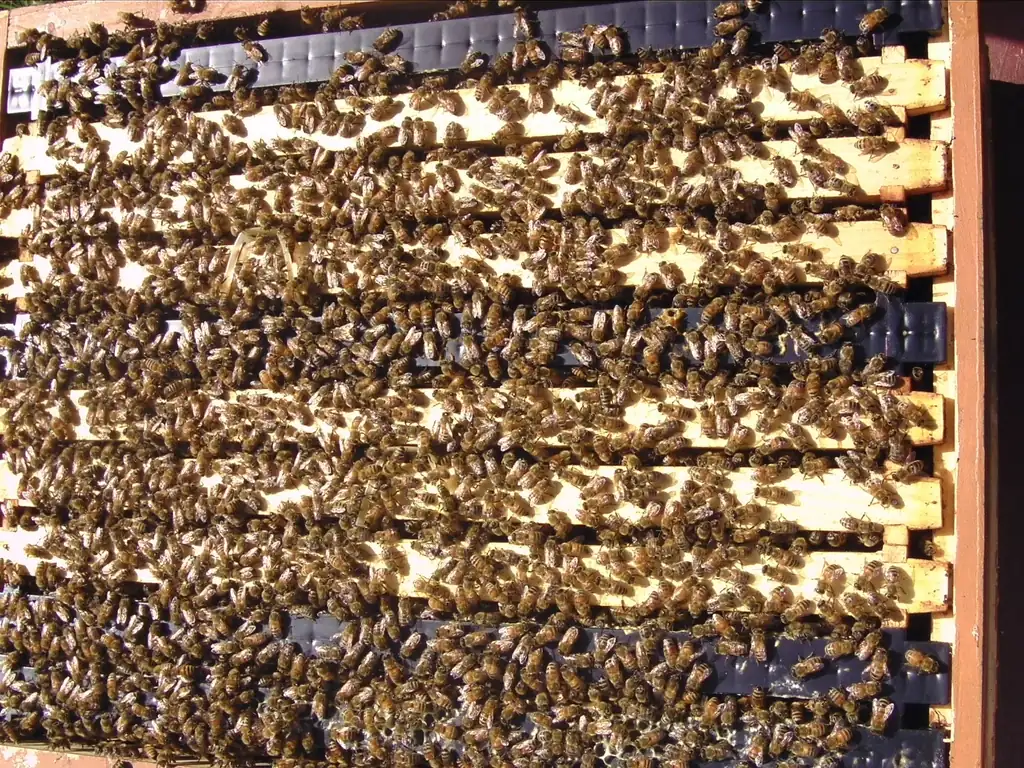
- Hive parts: bottom board, brood box(es), frames, inner cover, lid, and supers for later
- Entrance reducer and a feeder (top or frame feeder)
- Smoker and fuel (pine needles, burlap or wood shavings)
- Hive tool for prying apart boxes and frames
- Veil at minimum; a jacket or full suit and gloves are common for beginners
- Mite test kit: jar with mesh lid, half-cup measure
Watch: Beekeeping Protective Gear
This short video from the University of Minnesota Bee Lab covers protective gear for working with bees.
Sting safety: Every beekeeper gets stung. Most stings cause only local swelling, but some people have a serious allergic reaction (anaphylaxis). If anyone in your household has had trouble breathing, hives or swelling far from a sting, talk to a doctor before keeping bees and ask about an epinephrine auto-injector. Call emergency services for any severe reaction.
Step 5: Pick the Right Spot
A good site keeps bees healthy and neighbors happy. Look for:
- Sun: full or mostly full sun, ideally facing south or southeast in the Northern Hemisphere (north or northeast in the Southern Hemisphere).
- Shelter: protection from strong winter winds.
- Dry ground: well-drained, with the hive on a stand.
- Water: a nearby shallow dish with stones or floating corks so bees skip the neighbor’s pool.
- Flyway: face the entrance away from paths and property lines. A fence or hedge about 6 ft (1.8 m) tall makes bees fly up over people’s heads.
- Forage: flowering trees, shrubs and gardens within reach. Planting fast-growing fruit trees gives bees spring blossom.
Short on space? Homesteading on an acre shows where hives fit in a small layout.
Step 6: Order and Install Your Bees
There are three ways to get bees:
- Nuc (nucleus colony): a small working colony on about five frames with comb, brood, food and a laying queen. It establishes fastest.
- Package: a screened box of loose bees with a caged queen. Slower to build up, since bees must draw new comb.
- Swarm: free bees caught in spring, but of unknown quality and temper; better for a second hive.
When to order: place your order in midwinter (around January in the Northern Hemisphere, July in the Southern Hemisphere). Good suppliers sell out, and bees arrive in spring as early flowers bloom.
Install bees on a calm, mild afternoon. A nuc goes in frame by frame, in the same order. With a package, hang the queen cage between the middle frames and gently shake the bees in. Leave the colony about a week, apart from topping up the feeder, then check the queen is out and laying.
Step 7: Inspect, Feed and Watch for Mites
Inspection Rhythm
In the first season, open the hive every 7–14 days from spring through summer. Look for eggs (proof of a laying queen), a solid brood pattern, food stores, enough room, and signs of disease or swarming. Work slowly, on warm, calm days. In winter, keep the hive closed except for a quick look on a mild day above about 55°F (13°C).
Feeding Sugar Syrup
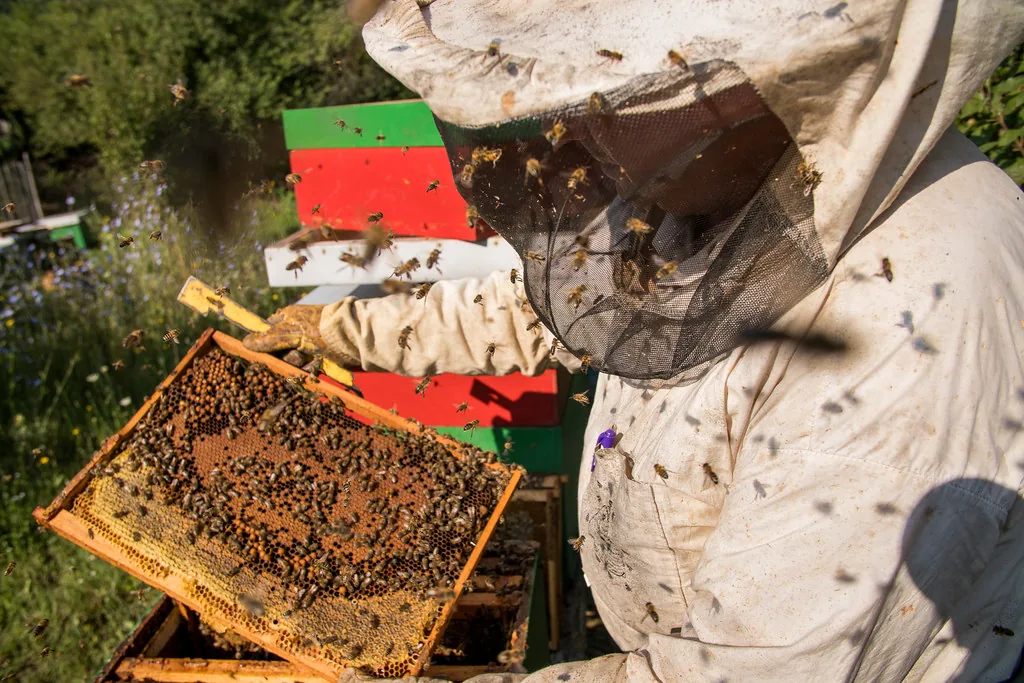
New colonies usually need feeding while they draw comb. University of Arizona Extension recommends:
- Spring: 1:1 syrup (equal parts white sugar and water) for comb building
- Fall: 2:1 syrup (two parts sugar to one water) for winter stores
Use plain white sugar only; never feed brown sugar or honey from unknown hives, which can spread disease.
Varroa Mite Monitoring
Varroa mites are a leading cause of colony loss, and untreated colonies often die within one to three years. Test several times a season with an alcohol wash or sugar roll: take about half a cup of bees (roughly 300–400) from a brood frame, count the mites, and work out mites per 100 bees. Mississippi State University Extension uses a threshold of 3 mites per 100 bees from May through October, and suggests 1 per 100 in late winter. If you’re at or above the threshold, treat with an approved product and follow the label. The Honey Bee Health Coalition’s Varroa Management Guide compares treatment options.
Pro tip: Keep a log for each hive: date, eggs seen, frames of brood, stores and mite count. Patterns show up fast.
Step 8: Harvest and Winter Prep
Don’t expect much honey in year one. University of Georgia specialists say the bees usually need it for winter; if you harvest at all, take only a frame or two.
To get ready for winter:
- Leave plenty of honey. A UGA rule of thumb is about 1.5 frames of honey for every frame of bees and brood.
- Test and, if needed, treat mites in late summer.
- Feed 2:1 syrup in early fall if stores are light.
- Fit an entrance reducer or mouse guard, and keep the hive closed in cold weather.
Southern Hemisphere timing: seasons are reversed. In Australia, New Zealand and South Africa, order bees around midwinter (June–July), install them in spring (September–November), and prepare for winter in March–April.
Beginner Mistakes to Avoid
- Going it alone without a club or mentor.
- Ordering bees too late and ending up on a waiting list.
- Skipping mite checks because the colony looks busy.
- Taking too much honey in the first year.
- Overbuying equipment before you know what you’ll use.
- Starting for profit. Compare the most profitable farm animals first.
Quick Reference: First-Year Beekeeping
Save this chart as a first-year reminder.
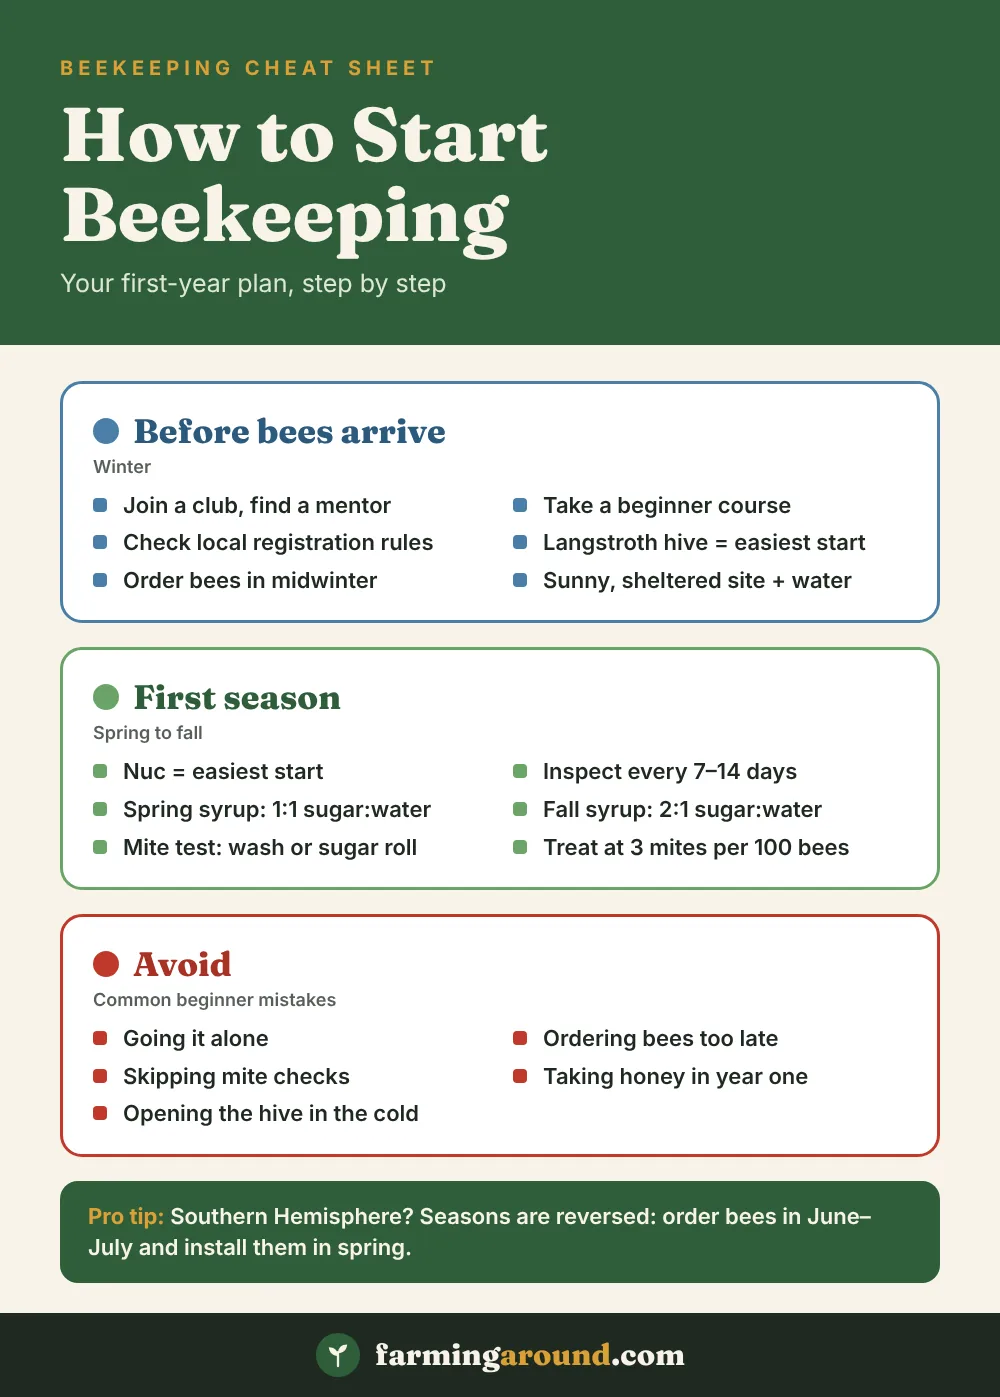
| Season (N. Hemisphere) | Main jobs |
|---|---|
| Winter | Take a course, join a club, check rules, order bees, buy and assemble gear |
| Spring | Install bees, feed 1:1 syrup, inspect every 7–14 days |
| Summer | Add boxes as needed, watch for swarming, test for mites |
| Fall | Test and treat mites, feed 2:1 if light, reduce entrance, leave honey |
Helpful gear for this guide
Handy picks that match the advice above.
Links go to Amazon. Prices and availability change, so check reviews and fit for your setup before buying.
FAQ
How many hives should a beginner start with?
Two is a common recommendation. If one weakens, you can borrow brood from the other.
What is the best month to start beekeeping?
Learn and order in winter; install bees in spring. In the Northern Hemisphere that’s usually April or May; in the Southern Hemisphere, September to November.
Is a nuc or a package better for beginners?
A nuc is usually easier because it arrives with drawn comb, brood and a laying queen, so it builds up faster. Packages need more feeding and time.
How much time does beekeeping take?
Plan on regular inspections every week or two in spring and summer, plus mite tests and occasional swarm work. Winter needs very little hands-on time.
Sources
- A Beginner’s Guide to Successful Beekeeping (University of Georgia CAES)
- Sampling for Varroa Mites Using Alcohol Wash (Mississippi State University Extension)
- Feeding Honey Bees (University of Arizona Cooperative Extension)
- Varroa Management (Honey Bee Health Coalition)
This guide is general information. Registration rules change, so confirm requirements with your local agriculture department, and ask your local extension office or beekeeping association about mite treatments and bee health in your area.
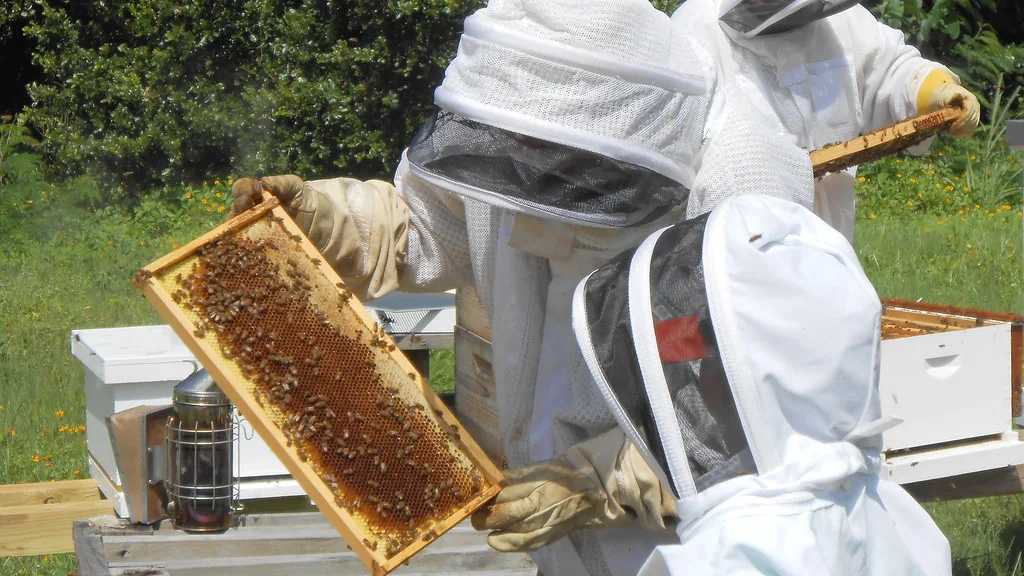
Featured image: Barefoot In Florida / CC BY 2.0 via Flickr.

One Comment