

Last updated: October 2026
This guide contains affiliate links. As an Amazon Associate, FarmingAround earns from qualifying purchases, at no extra cost to you.
Chickens handle cold much better than most new keepers expect. A healthy, well-feathered hen fluffs her feathers and stays warm down to surprisingly low temperatures. What really threatens a flock in winter is moisture, drafts, frozen water and predators, not the cold itself. This guide shows you how to winterize a chicken coop step by step, so your birds stay healthy, comfortable and laying through the coldest months.
Key takeaways
- Ventilate, don’t seal: vents high above the roost let moist air out, while drafts at roost level stay blocked.
- Dry beats warm: damp air and wet bedding drive frostbite and respiratory problems, so keep litter deep and dry.
- Unfrozen water every day: use a heated waterer or swap waterers morning and afternoon.
- Skip heat lamps: they are a leading cause of coop fires; most cold-hardy breeds need no added heat.
In this guide
- Quick Winter Coop Checklist
- 1. Ventilation: The Most Important Winter Step
- 2. Use the Deep Litter Method
- 3. Keep Water From Freezing
- 4. Should You Heat a Chicken Coop?
- 5. Protect the Run From Wind and Snow
- 6. Prevent Frostbite
- 7. Winter Feeding Tips
- 8. Egg Laying in Winter
- 9. Winter Predator and Biosecurity Check
- Quick Reference: Winter Coop Care at a Glance
- FAQ: How to Winterize a Chicken Coop
- Sources
Quick Winter Coop Checklist
| Priority | Task |
|---|---|
| 1 | Improve ventilation high up, and block drafts at roost level |
| 2 | Deep, dry bedding (deep litter method) |
| 3 | A heated waterer or a daily plan for unfrozen water |
| 4 | Wind and snow protection for the run |
| 5 | Predator-proofing check |
| 6 | Frostbite prevention for combs and wattles |
| 7 | Winter feeding routine |
| 8 | Biosecurity for bird flu season |
Watch: How to Winterize Your Chicken Coop
For a visual walk-through of getting a coop ready for cold weather, this video from MorningChores covers winterizing a chicken coop.
1. Ventilation: The Most Important Winter Step
It sounds backwards, but closing a coop up tight is one of the most common winter mistakes. Chickens release a lot of moisture through breathing and droppings. In a sealed coop, that moisture condenses on the walls and in the air, and damp air causes frostbite and respiratory problems.
- Keep vents high on the walls or near the roof, above the roosting birds, so warm moist air escapes.
- A common guideline is roughly 1 sq ft of ventilation per 10 sq ft of floor space. Adjust for your climate and flock size.
- Block drafts at roost level. Air should move above the birds, not blow across them.
- Check for condensation on windows and walls on cold mornings. If you see it, you need more ventilation.
Planning a new build or a bigger coop? Our chicken coop plans and build costs guide covers designs and materials.
2. Use the Deep Litter Method
Deep litter creates a warm, dry, composting floor:
- Start autumn with 4–6 in (10–15 cm) of pine shavings or straw.
- Instead of cleaning out, stir the bedding and add fresh layers on top as it gets soiled.
- Over winter, the bottom layer slowly composts, releasing a little gentle warmth.
- Clean out fully in spring and add it to your compost pile or garden.
Keep it dry. Wet litter defeats the purpose. Remove any soaked patches around waterers right away.
3. Keep Water From Freezing
Chickens need water every day, even in freezing weather, and dehydration quickly cuts egg laying.
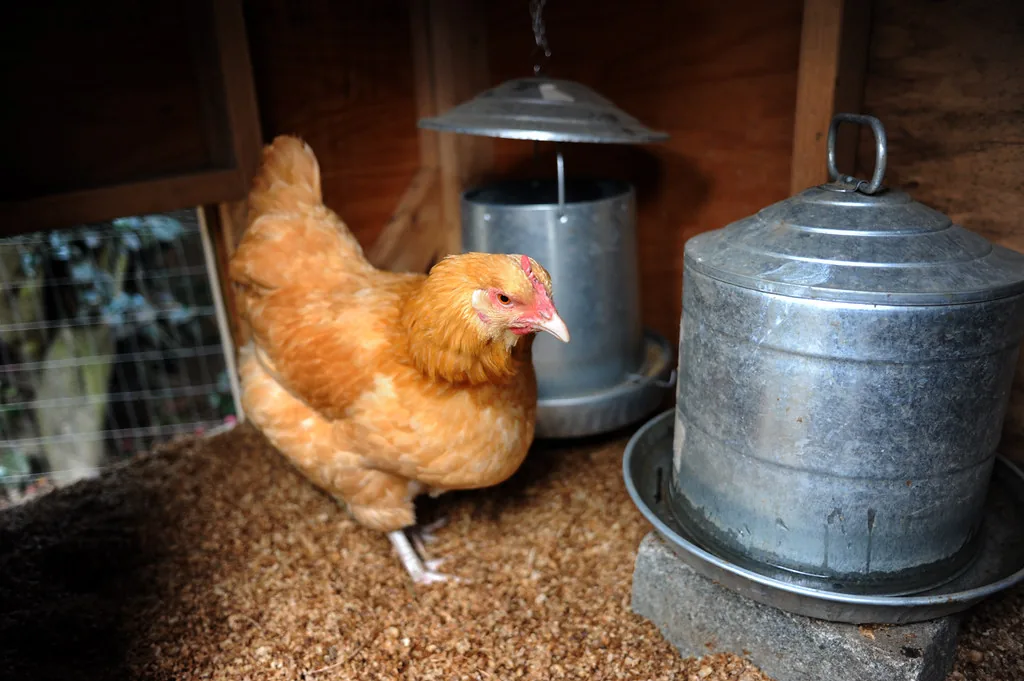
- Heated waterer or heated base: the easiest solution where you have safe electricity to the coop.
- Two-waterer swap: rotate a frozen waterer with a fresh one from the house each morning and afternoon.
- Black rubber tubs absorb sunlight and are easy to pop ice out of.
- Place waterers outside the sleeping area to keep humidity down.
Pro tip: without a heated waterer, check water several times a day in freezing weather. Chickens can’t break through ice, so a frozen-over drinker means no water at all.
4. Should You Heat a Chicken Coop?
For most cold-hardy breeds, no. Heat lamps are a leading cause of coop fires, and birds that acclimate naturally handle cold better than birds used to a heated coop that suddenly loses power. If you live somewhere with extreme cold or keep bantams or frizzled breeds, use a radiant panel heater designed for coops instead of heat lamps, installed well away from bedding.
Fire warning: a heat lamp that slips from its clamp or gets knocked into straw or shavings can start a fire quickly. Never use propane or kerosene heaters in a coop, and check that any heated waterer base can’t melt its container or ignite bedding.
Cold-hardy breeds include Buff Orpingtons, Australorps, Plymouth Rocks, Wyandottes and Rhode Island Reds. See our beginner’s guide to chickens for breed details.
5. Protect the Run From Wind and Snow
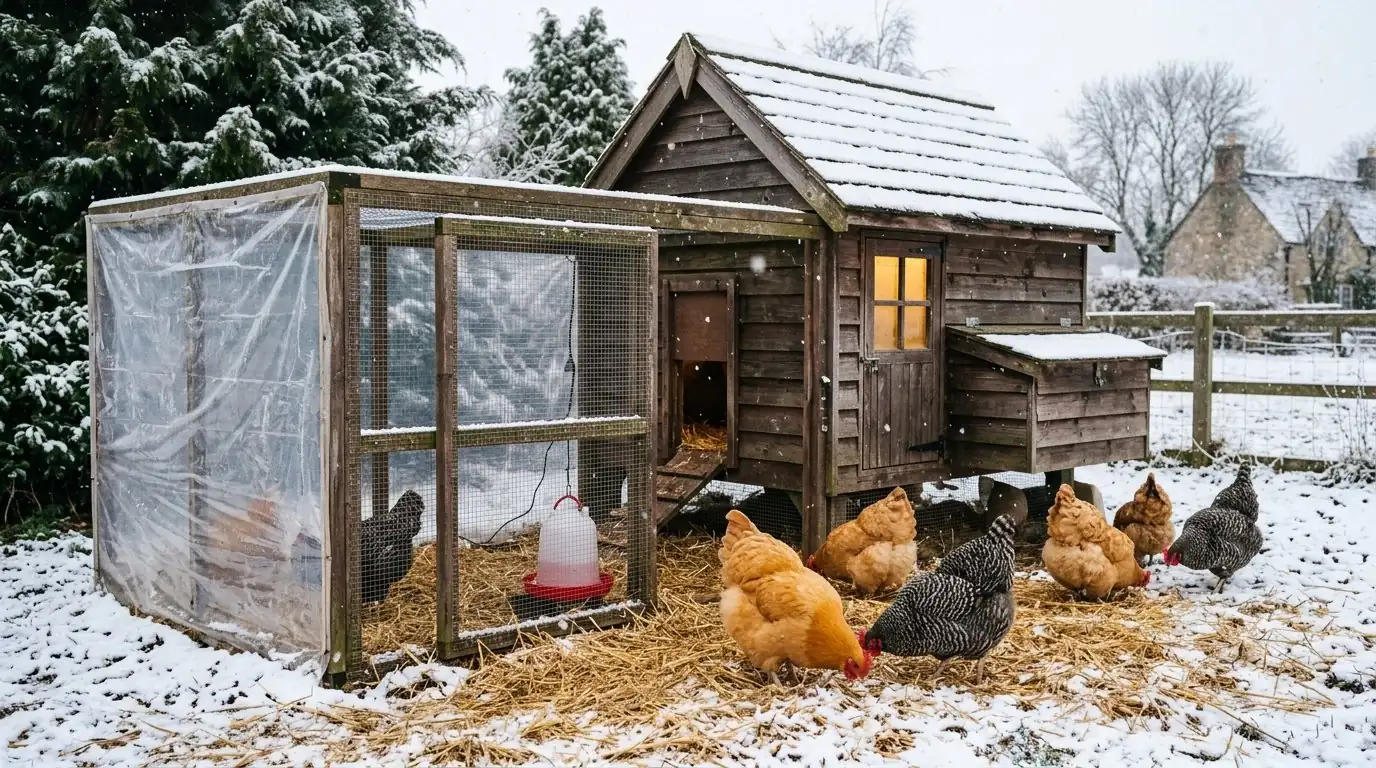
- Wrap the windward sides of the run with clear plastic, tarps or wind-block fabric, leaving the top and leeward side open for airflow.
- Add a solid roof or strong netting. This also keeps wild birds away during bird flu season.
- Spread straw or wood chips on muddy or snowy ground so birds keep venturing outside.
- Add perches or stumps so chickens can get their feet off frozen ground.
6. Prevent Frostbite
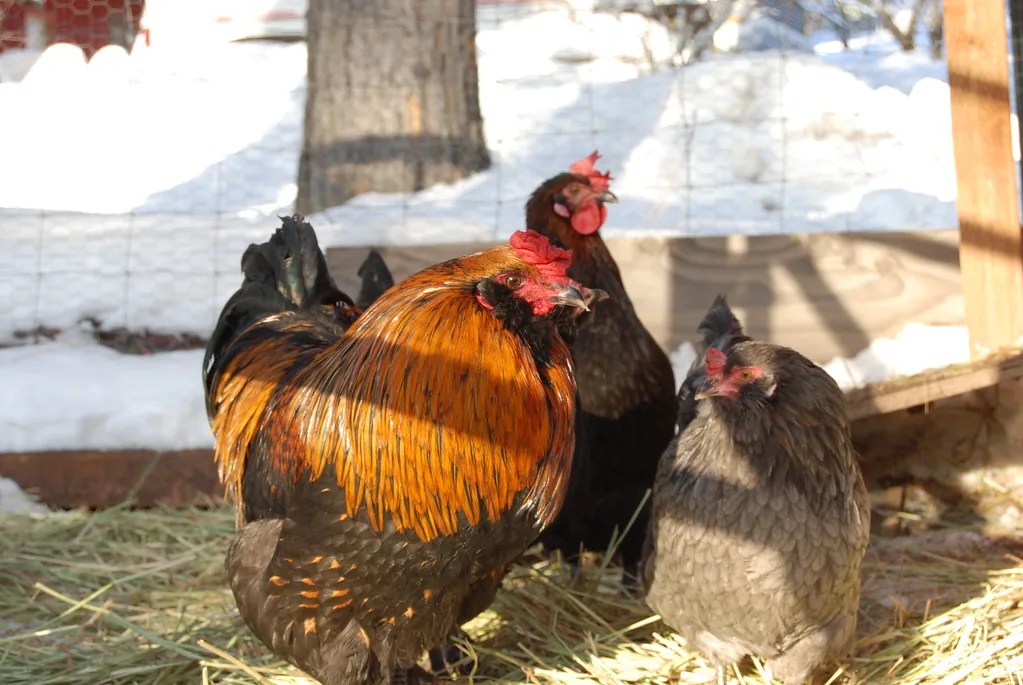
Large single combs and wattles are most at risk.
- Fix humidity first (ventilation plus dry bedding). It’s the main cause.
- Use wide, flat roosts (a 2×4 laid flat) so birds can cover their toes with their feathers.
- Some keepers apply a thin layer of balm to combs in severe cold; opinions differ on how much it helps.
- Signs of frostbite: pale, gray, then black tips on combs, wattles or toes. Consult a vet for serious cases.
7. Winter Feeding Tips
- Keep a complete layer feed as the main diet.
- A small handful of scratch grains or cracked corn in the late afternoon gives extra calories for the long night. Keep treats limited.
- Make sure feed stays dry and covered.
- Offer greens (cabbage, kale) for boredom relief when birds are cooped up.
For more safe greens and treats, see our list of what chickens can eat.
8. Egg Laying in Winter
Laying naturally slows as days shorten, and hens need about 14–16 hours of light for peak production. Many keepers let hens rest over winter. Others add supplemental light on a timer in the early morning to extend the day. If you add light, increase it gradually and keep the natural sunset. Collect eggs often so they don’t freeze and crack.
9. Winter Predator and Biosecurity Check
- Hungry predators are bolder in winter. Check hardware cloth, doors, latches and any gaps.
- Secure feed to avoid attracting rodents.
- Autumn and winter migration increase bird flu risk. Follow our bird flu protection guide for backyard flocks.
Quick Reference: Winter Coop Care at a Glance
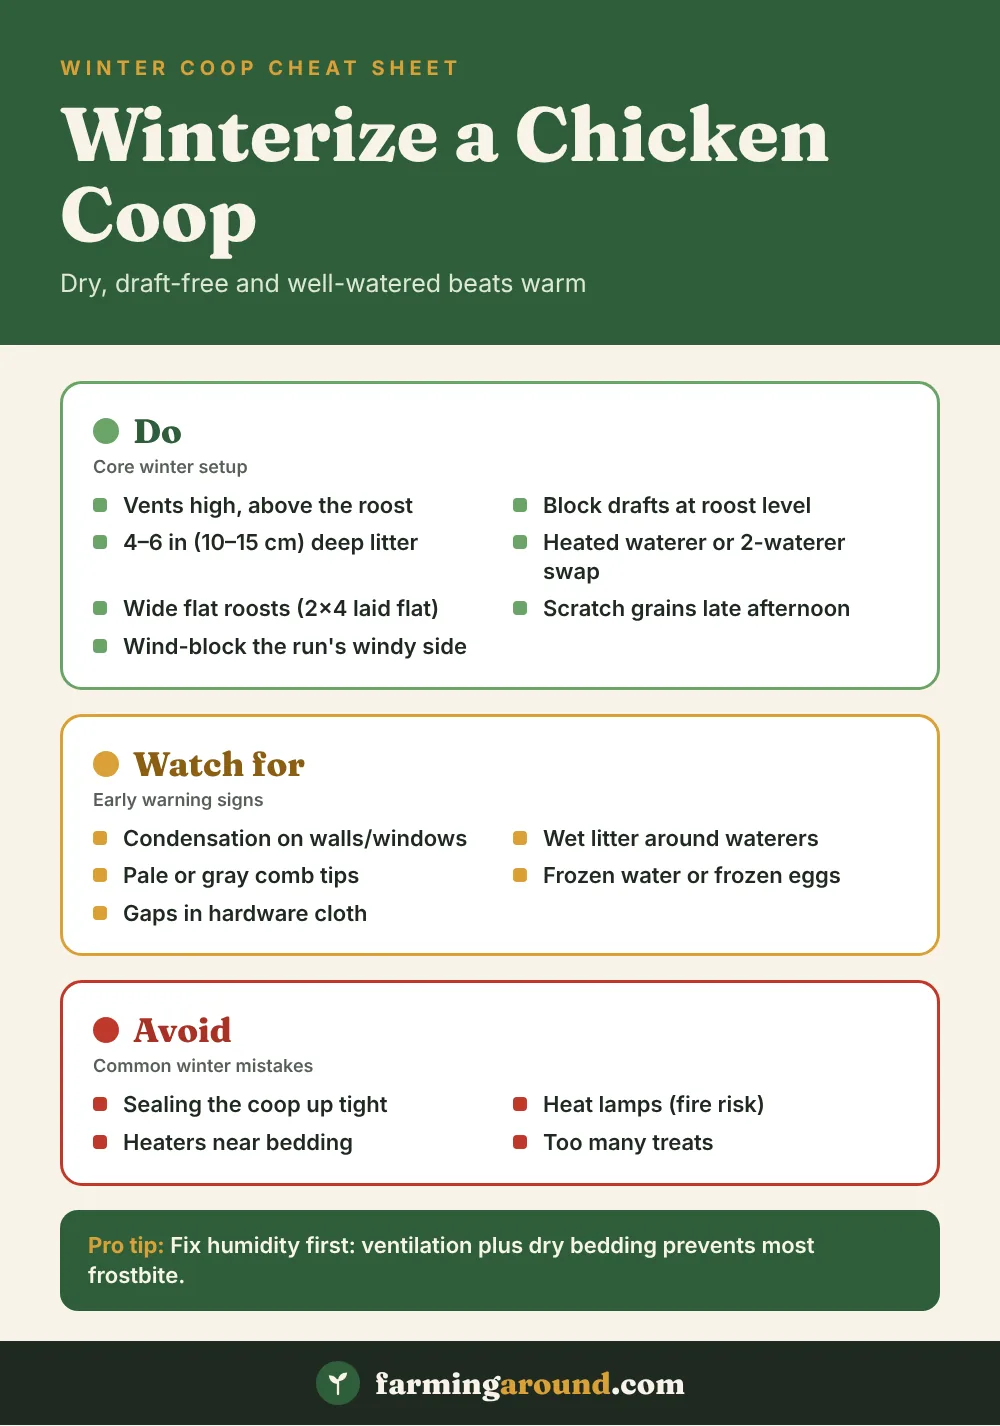
Save this cheat sheet for a quick reminder of what to do, what to watch and what to avoid this winter.
Helpful gear for this guide
Handy picks that match the advice above.
Links go to Amazon. Prices and availability change, so check reviews and fit for your setup before buying.
FAQ: How to Winterize a Chicken Coop
How cold is too cold for chickens?
Healthy, cold-hardy adult chickens in a dry, draft-free coop can tolerate temperatures well below freezing. Problems usually come from moisture, drafts and frozen water, not temperature alone.
Should I insulate my chicken coop?
Some insulation can help in very cold climates, but never at the expense of ventilation. A dry coop matters more than a warm one.
Can chickens go outside in snow?
Yes. Many enjoy it if you clear a path or put straw down. They’ll return to the coop when they’re cold.
When should I winterize my coop?
In early to mid-autumn, before the first hard freeze, so you can fix drafts, set up water solutions and build deep litter in time.
Sources
- University of Maryland Extension: Winter Weather and Small Flocks
- Poultry Extension (eXtension): Frostbite in Chickens
- University of Arkansas Cooperative Extension: Backyard Poultry Coops Prepped for Cold Still Require Good Ventilation
- Rutgers 4-H Animal Science: Winter Care of Laying Hens
This guide is general information. For sick, injured or frostbitten birds, consult a poultry vet or your local extension office.

2 Comments